In our previous post, we took a deep dive into Golang’s Goroutines and Channels. Now, we’re ready to build on that foundation and explore our first concurrency design pattern: the Pipeline Pattern.

What is the Pipeline Pattern?
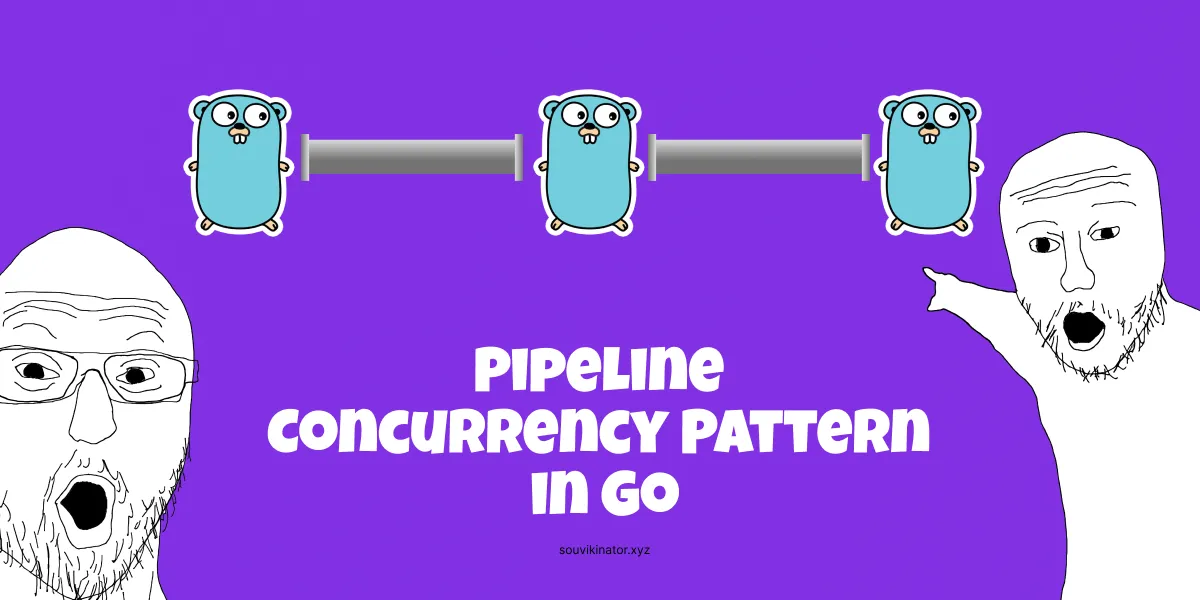
Imagine an assembly line in a factory. Each station performs a specific task before passing the item to the next station. The Pipeline pattern works similarly: it’s a series of stages connected by channels, where each stage processes data and passes it along.

Each stage is a goroutine that:
- Receives values from an inbound channel.
- Performs some function on that data (the “work”).
- Sends the results to an outbound channel.
Except for the first stage (the source/producer) and the last stage (the sink/consumer), each stage uses its inbound channel from the previous stage and its outbound channel connected to the next stage.
Simple Pipeline Example
Let’s build a basic pipeline with three stages:
- Generator: Produces numbers.
- Squarer: Squares the numbers.
- Printer: Prints the squared numbers.
package main
import (
"fmt"
"sync"
)
// Stage 1: Generates numbers 1 to 5
func generator(nums ...int) <-chan int {
out := make(chan int)
go func() {
defer close(out) // Close channel when done
for _, n := range nums {
out <- n
}
}()
return out
}
// Stage 2: Squares the numbers
func squarer(in <-chan int) <-chan int {
out := make(chan int)
go func() {
defer close(out) // Close channel when done
for n := range in {
out <- n * n // Square the number
}
}()
return out
}
// Stage 3: Prints the results
func printer(in <-chan int, wg *sync.WaitGroup) {
defer wg.Done() // Signal we are done
for n := range in {
fmt.Println("Result:", n)
}
}
func main() {
var wg sync.WaitGroup
wg.Add(1) // We have one final stage (printer) to wait for
// Set up the pipeline
source := generator(1, 2, 3, 4, 5)
stage2 := squarer(source)
go printer(stage2, &wg) // Run printer in a goroutine
// Wait for the printer to finish
fmt.Println("Waiting for pipeline to complete...")
wg.Wait()
fmt.Println("Pipeline finished.")
}Explanation:
generatorsends numbers1through5onto its output channel (out) and then closes it.squarerreads fromgenerator’s output channel (in), squares each number, and sends it to its own output channel (out), closing it wheninis closed and drained.printerreads fromsquarer’s output channel (in) and prints each number. It uses async.WaitGroupto signal when it has finished processing all numbers.mainconnects the stages and useswg.Wait()to ensure the program doesn’t exit before the pipeline completes.
Why Use the Pipeline Pattern?
- Modularity: Each stage is self-contained and focuses on one task. This makes the code easier to understand, test, and maintain.
- Concurrency: Each stage runs in its own goroutine, allowing stages to execute concurrently. If one stage is slow, faster stages can still proceed with available data (limited by channel buffers).
- Composability: You can easily chain stages together to build complex data processing workflows.
- Backpressure: Channels naturally handle backpressure. If a stage is slow, the channel feeding it will fill up, causing the previous stage to pause until there’s space.
Real-World Example: Image Processing Pipeline
Let’s imagine a pipeline that downloads images, resizes them, and adds a watermark.

package main
import (
"fmt"
"sync"
"time"
)
type Image struct {
ID int
URL string // Original URL
}
type ResizedImage struct {
ID int
Path string // Path to resized image
}
type WatermarkedImage struct {
ID int
Path string // Path to final image
}
// Stage 1: Download images (Simulated)
func downloadImages(urls []string) <-chan Image {
out := make(chan Image)
go func() {
defer close(out)
for i, url := range urls {
fmt.Printf("Downloading %s...
", url)
time.Sleep(100 * time.Millisecond) // Simulate download time
out <- Image{ID: i, URL: url}
}
}()
return out
}
// Stage 2: Resize images (Simulated)
func resizeImages(in <-chan Image) <-chan ResizedImage {
out := make(chan ResizedImage)
go func() {
defer close(out)
for img := range in {
fmt.Printf("Resizing image %d from %s...
", img.ID, img.URL)
time.Sleep(150 * time.Millisecond) // Simulate resize time
out <- ResizedImage{ID: img.ID, Path: fmt.Sprintf("resized_%d.jpg", img.ID)}
}
}()
return out
}
// Stage 3: Add watermark (Simulated)
func addWatermark(in <-chan ResizedImage) <-chan WatermarkedImage {
out := make(chan WatermarkedImage)
go func() {
defer close(out)
for img := range in {
fmt.Printf("Adding watermark to %s...
", img.Path)
time.Sleep(50 * time.Millisecond) // Simulate watermark time
out <- WatermarkedImage{ID: img.ID, Path: fmt.Sprintf("watermarked_%s", img.Path)}
}
}()
return out
}
// Stage 4: Save/Upload final image (Simulated)
func saveImages(in <-chan WatermarkedImage, wg *sync.WaitGroup) {
defer wg.Done()
for img := range in {
fmt.Printf("Saving final image %s
", img.Path)
time.Sleep(20 * time.Millisecond) // Simulate save time
}
}
func main() {
imageURLs := []string{
"http://example.com/img1.jpg",
"http://example.com/img2.jpg",
"http://example.com/img3.jpg",
"http://example.com/img4.jpg",
}
var wg sync.WaitGroup
wg.Add(1) // For the saveImages stage
// Build the pipeline
downloadStage := downloadImages(imageURLs)
resizeStage := resizeImages(downloadStage)
watermarkStage := addWatermark(resizeStage)
go saveImages(watermarkStage, &wg) // Start the final stage
fmt.Println("Image processing pipeline started...")
wg.Wait() // Wait for saveImages to finish
fmt.Println("Image processing pipeline finished.")
}
In this example, even though each step takes time, the pipeline allows multiple images to be in different stages of processing simultaneously, making the overall process faster than doing each step sequentially for all images.
Error Handling in Pipelines
Handling errors gracefully is crucial. A common approach is to have each stage return an error channel or wrap results in a struct containing both the data and a potential error.
type Result struct {
Data interface{}
Err error
}
func worker(in <-chan Task) <-chan Result {
out := make(chan Result)
go func() {
defer close(out)
for task := range in {
data, err := process(task) // process can return an error
out <- Result{Data: data, Err: err}
}
}()
return out
}
// In the consuming stage:
func consumer(in <-chan Result) {
for res := range in {
if res.Err != nil {
log.Printf("Pipeline error: %v", res.Err)
// Decide whether to continue, stop, log, etc.
continue
}
// Process successful result res.Data
fmt.Printf("Processed data: %v
", res.Data)
}
}That’s the Pipeline pattern! It’s a fundamental pattern for building concurrent data processing systems in Go. In the next post, we’ll explore the Fan-In and Fan-Out patterns, which build directly upon the pipeline concept to enable even more parallelism.
If you found this visual guide helpful, have questions, or want to share your pipeline experiences, drop a comment below!
Up Next: Fan-in Fan-out Concurrency Pattern in Go: Visual Guide 🚀
